

An assay report is the direct basis for a procurement decision, yet the report itself is only a set of numbers. To judge whether it can be relied on, you first need to establish which lot it covers, which items were tested and on what basis they are reported — then check each one against your own end use and specification. The verification process breaks into five steps.
1. Verify the Report’s Identity Information First
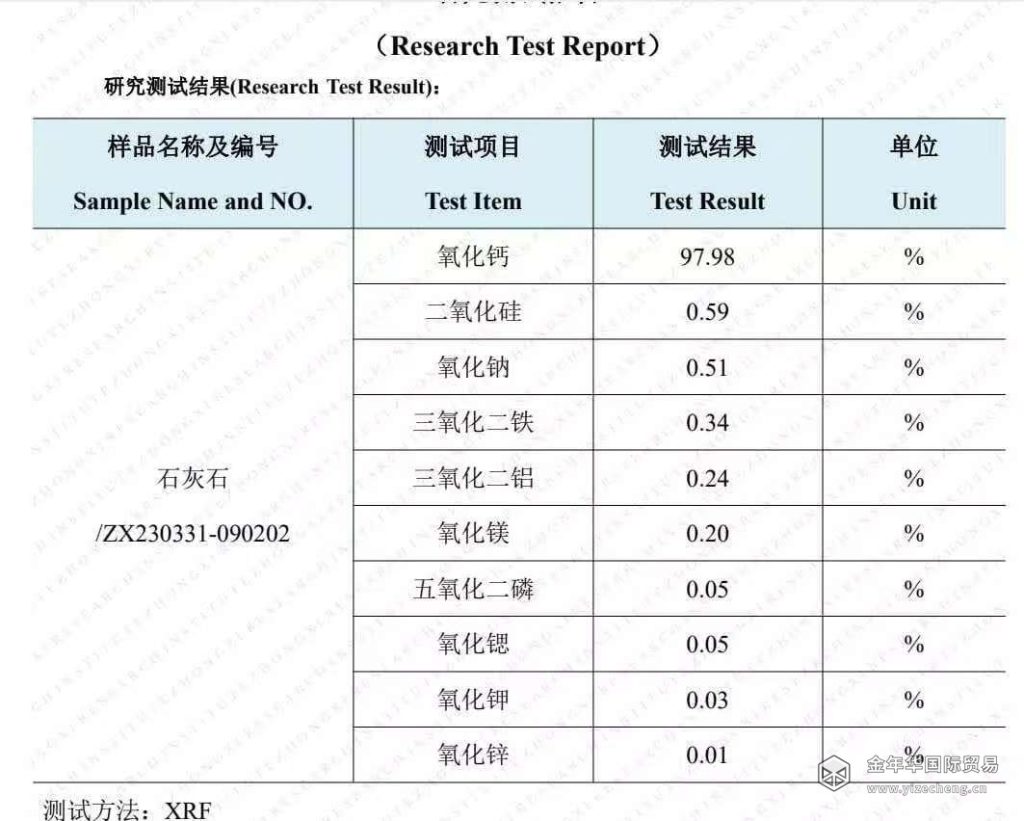
A report must carry the product name, lot number, sampling date, sampling location and a list of test items. These five items bind the report to a specific consignment. If any one of them is missing, the report cannot support an acceptance decision.
Two problems come up most often in practice. The first is using the report for lot A to accept the goods in lot B, on the assumption that “same supplier, same mine, so the figures should be the same”. The second is a sampling date that sits a long way before the shipment date, with the cargo having passed through a stockyard and sat for some time in between. In both cases the report may be genuine and still fail to represent the material that actually arrived.
2. Match the Test Items to Your End Use
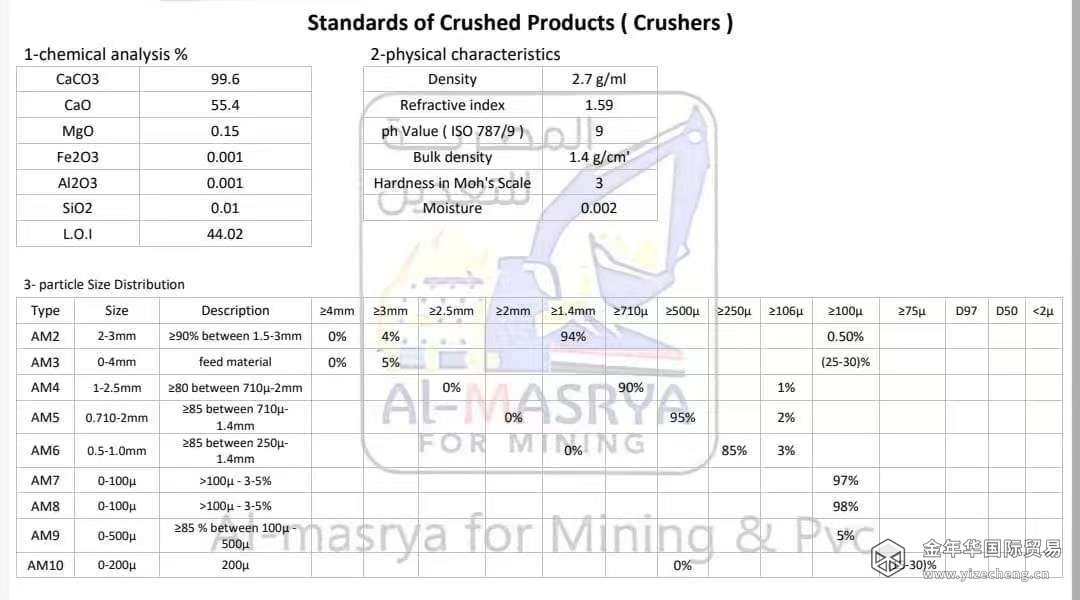
Which items get tested depends on what the client asked for. Take the same lot of phosphate rock: if the end use is phosphoric acid, the focus falls on P₂O₅ together with MgO, Fe₂O₃ and Al₂O₃ — the impurities that drive acid consumption and filtration performance. If the end use is a fertiliser filler, the focus shifts towards available phosphorus and particle size distribution.
That means the first thing to do with a report in hand is to check its list of test items against your own specification, item by item. If an indicator your specification requires has not been tested, the report is incomplete. If the report tests indicators your specification does not mention, that at least signals the report was not commissioned to your requirements. Core indicators differ widely between minerals — phosphate rock, calcium carbonate, pyrite and iron oxide pigments each have their own priorities. The layered explanation in How to Read Ore Grade and Assay Reports sets out which figures matter for which mineral.
3. Reports from Different Lots Cannot Substitute for One Another
Minerals are natural products. Even a mine that ships continuously will show variation in grade and impurity profile from lot to lot. How wide that variation runs depends on the stability of the ore source and the beneficiation process; a source with poor consistency can swing noticeably.
Acceptance should therefore be checked lot by lot, rather than by carrying the previous lot’s conclusion forward. If a supplier can only ever produce a report for a single lot and cannot cover every arrival, that in itself is a signal about supply capability worth noting. For a plant running continuously, the process adjustment cost of lot-to-lot variation also belongs in the assessment.
4. Basis and Moisture: The Column Most Often Overlooked
The percentages on a report are not absolute. First establish whether they are on a dry basis or a wet basis. Most minerals are priced on a dry basis, which already excludes moisture. If a report is marked wet basis, or is silent on the subject, comparing it straight against a specification introduces a bias.
Moisture affects settlement directly. Every extra percentage point of moisture reduces the dry weight, and the payment has to be adjusted accordingly. Moisture also shifts the grade reading. So when two reports disagree, establish whether the basis and the moisture convention are the same before concluding that there is a real quality difference.
How moisture is measured matters as well. A sample loses water continuously between sampling and weighing, so the weighing has to be completed in the shortest possible time. Sampling standards set this out explicitly.
5. The Sampling and Sample Preparation Behind the Report
The credibility of a report is capped by the sample. If the sample does not represent the whole lot, the most precise assay merely calculates a skewed number more precisely. Bulk minerals segregate by particle size during discharge: fines settle in the core of the pile, coarse lumps roll to the toe, and a few shovelfuls taken off the top are naturally biased towards one size fraction.
The proper approach designs a sampling plan around three variables — number of increments, distribution of sampling points and increment mass. Sample preparation then reduces particle size and mass through crushing, blending and splitting, and splitting must follow thorough blending. Retained samples are sealed to the standard and kept until the objection period agreed in the contract expires, where they serve as the basis for arbitration. The practical detail on that sequence is in Mineral Sampling and Preparation: Increments, Splitting and Representativeness.
Conclusion
Verifying an assay report is a five-step process, not a glance at whether the conclusion column says “pass”: confirm the identity information, check the test items against your own specification, verify lot by lot, establish the basis and moisture convention, and probe how the sample was taken and prepared. Working through those five steps before deciding to accept the goods or raise an objection saves a great deal of argument later. If quality penalties need to be reflected in the contract, see Phosphate Rock Procurement Guide: Grade Pricing, Quality Penalties and Landed Cost Calculation.
Related Reading
How to Read Ore Grade and Assay Reports
Mineral Sampling and Preparation: Increments, Splitting and Representativeness
Phosphate Rock Procurement Guide: Grade Pricing, Quality Penalties and Landed Cost Calculation